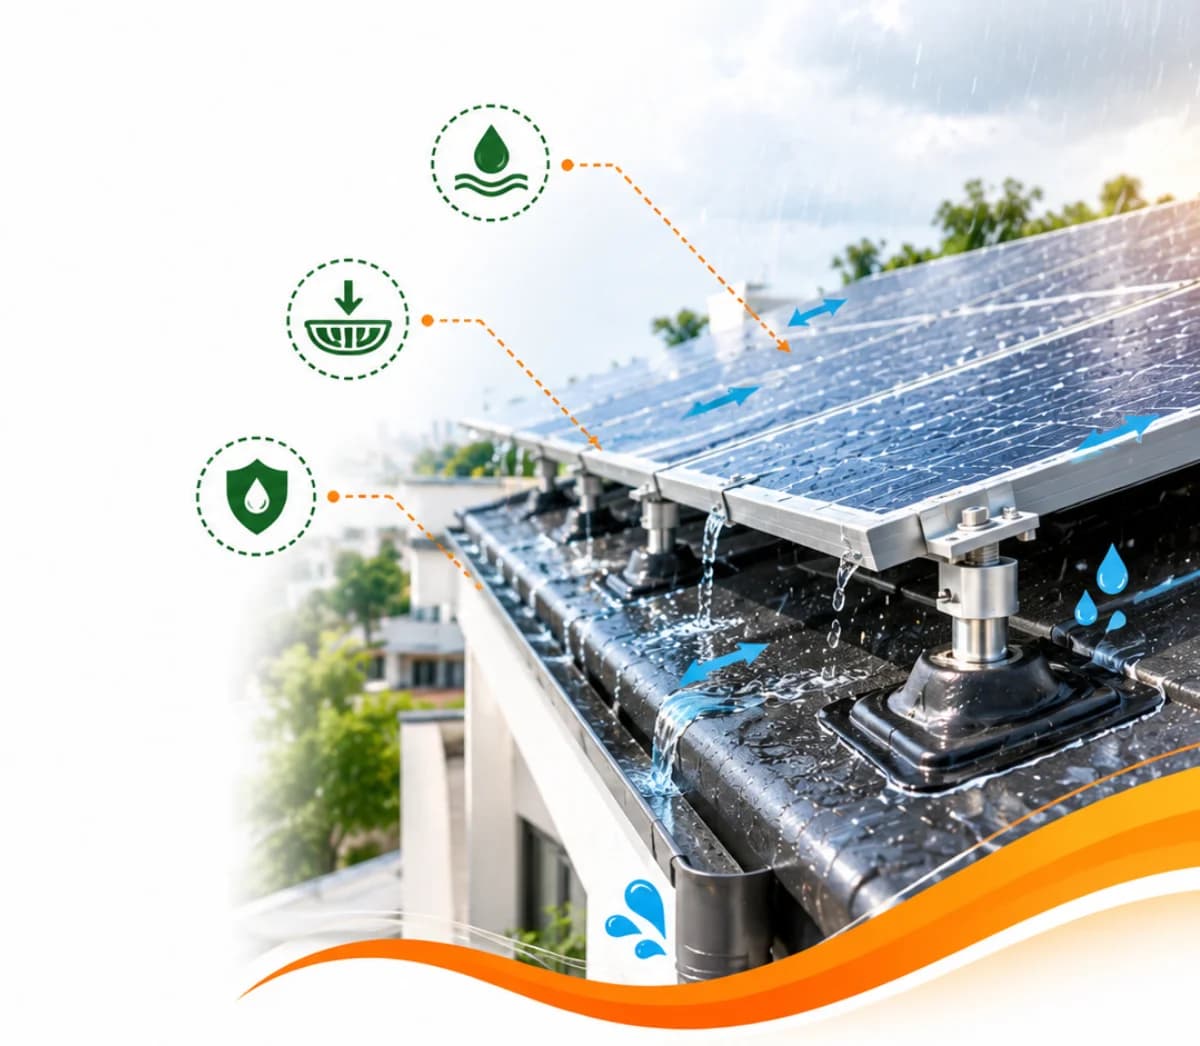
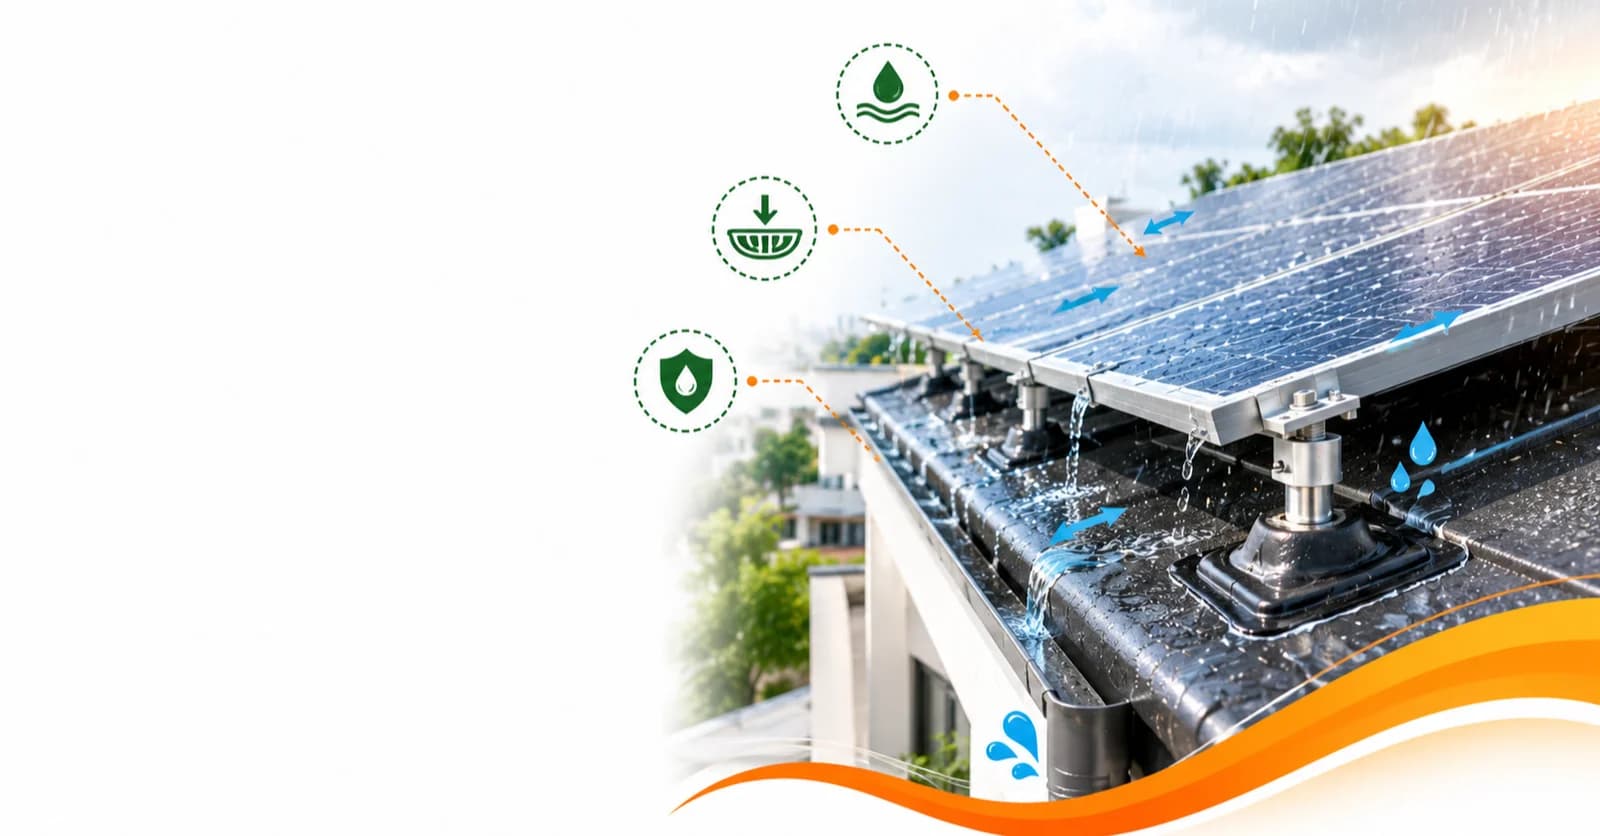
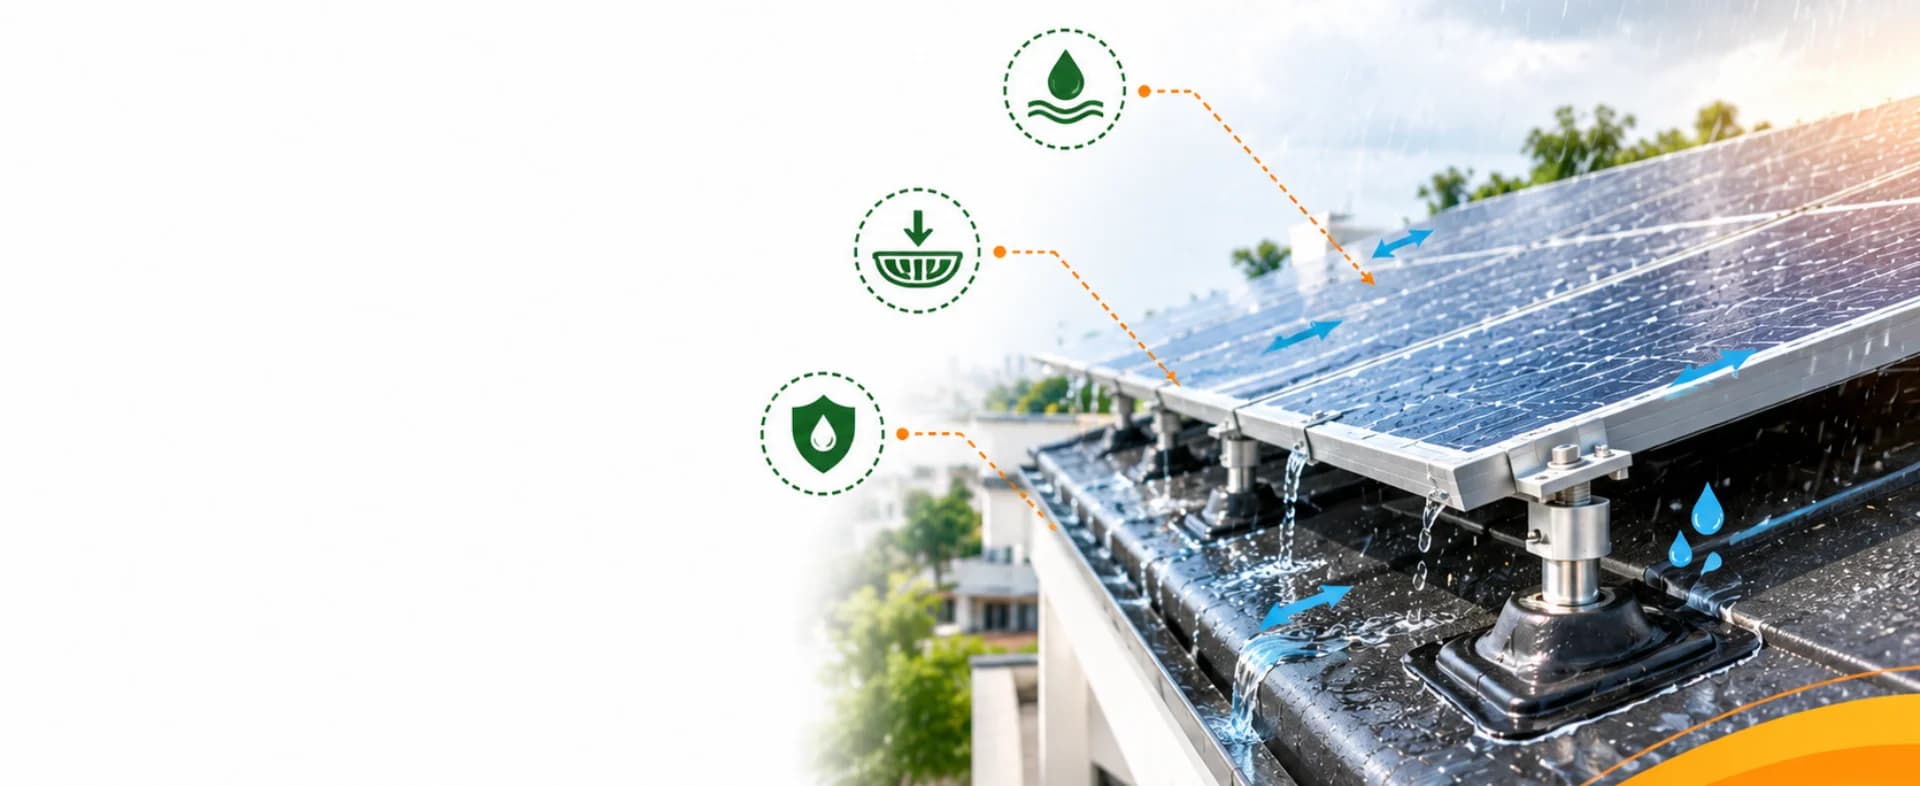
Learn how solar panel roof waterproofing protects your solar rooftop system for home, improves drainage, and extends the life of rooftop solar panels for home.
Quick Summary
A well-designed solar rooftop system for home is about more than installing quality panels. The roof underneath the system must continue managing rainwater effectively for the next 20–25 years.
Here is a simple way to understand the scale.
If 50 mm of rain falls on a 100 m² rooftop, approximately:
0.05 m × 100 m² = 5 m³ of water
That's about 5,000 litres of rainwater falling on the roof.
At 100 mm of rainfall, the same roof receives approximately 10,000 litres.
If solar mounting structures, cables, debris or poorly planned pathways restrict drainage, even a small percentage of that water collecting in the wrong place can create unnecessary stress on the roof's waterproofing system.
Professional solar panel roof waterproofing therefore isn't simply about sealing anchor points. It requires understanding roof condition, drainage routes, penetrations, mounting locations and future maintenance access before installing rooftop solar panels for home.
Solar Panels May Be on the Roof for 25 Years. What About the Roof Underneath?
When homeowners compare solar systems, the discussion usually revolves around:
- Panel efficiency
- Inverter brands
- Warranty
- Generation
- Subsidy
- Home solar installation cost
These are important.
But there is another question worth asking before installation:
What happens underneath my solar panels when 5,000 or 10,000 litres of rainwater falls on the roof?
A solar rooftop system for home is continuously exposed to sun, wind and rain.
The panels themselves are designed for outdoor conditions.
But the roof beneath them already has its own system for handling water.
A good solar installation should work with that system—not against it.
Your Roof Is Already Engineered to Manage Water
Every properly constructed roof has some method of moving rainwater away.
That may involve:
Roof slope → drainage path → outlet → downpipe
Waterproofing provides another layer of protection by helping prevent moisture from entering the building structure.
When solar is installed, these functions should continue.
Problems can begin when:
- Mounting bases interrupt natural drainage
- Drain outlets become difficult to access
- Cables trap leaves and debris
- Roof penetrations are inadequately treated
- Existing cracks are ignored
- Maintenance pathways are blocked
The solar panels may continue generating electricity perfectly while the roof underneath slowly develops a moisture problem.
Is Your Home Ready for Solar?
Reduce your monthly electricity bills and build long-term energy independence with Enersol's rooftop solar solutions.
Put Rainfall Into Numbers
Rainfall figures can sound small when expressed in millimetres.
But across an entire rooftop, the volume becomes significant.
The approximate calculation is:
Rainwater Volume = Rainfall Depth × Roof Area
For a 100 m² rooftop:
| Rainfall | Approx. Water Falling on Roof |
|---|---|
| 10 mm | 1,000 litres |
| 25 mm | 2,500 litres |
| 50 mm | 5,000 litres |
| 75 mm | 7,500 litres |
| 100 mm | 10,000 litres |
This is why drainage should be considered during solar layout design.
A rooftop doesn't need to handle a few buckets of water.
During a heavy rainfall event, it may need to move thousands of litres away efficiently.
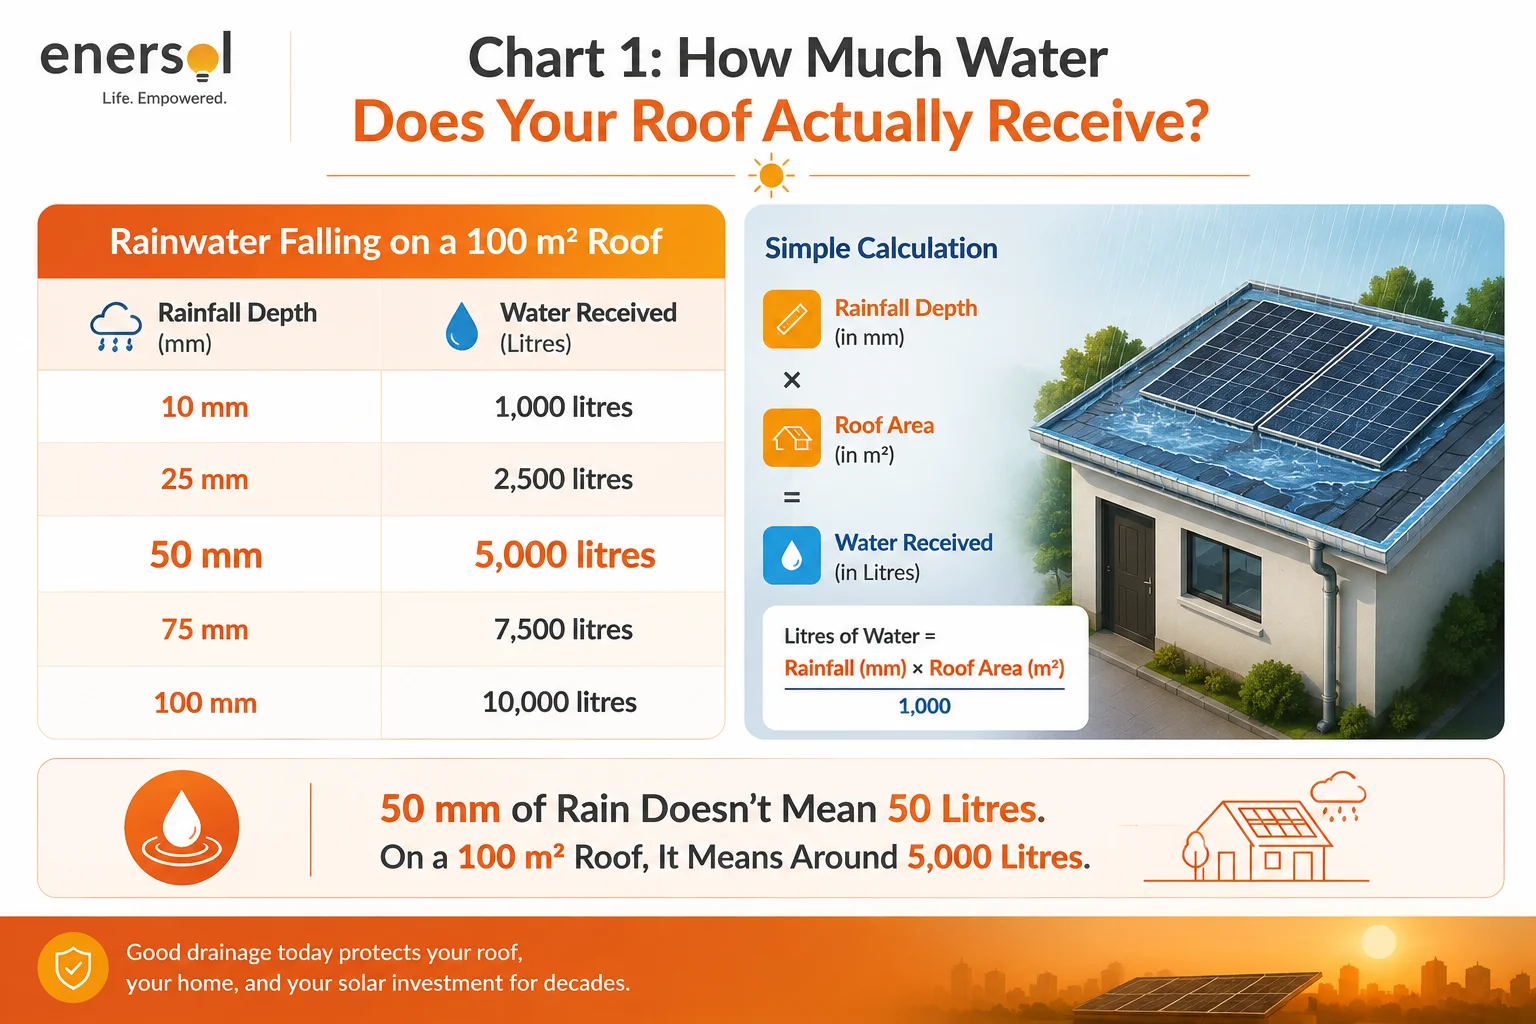
Chart 1: How Much Water Does Your Roof Actually Receive?
This can become the first graphic in the article.
Rainwater Falling on a 100 m² Roof
10 mm rain → 1,000 litres
25 mm rain → 2,500 litres
50 mm rain → 5,000 litres
75 mm rain → 7,500 litres
100 mm rain → 10,000 litres
Graphic takeaway:
“50 mm of Rain Doesn't Mean 50 Litres. On a 100 m² Roof, It Means Around 5,000 Litres.”
That immediately gives homeowners a practical reason to care about drainage before solar installation.
What Happens When Water Cannot Leave the Roof Properly?
Imagine the same 100 m² roof receives 50 mm of rainfall.
That's approximately 5,000 litres of water.
Most of it should move toward the drainage outlets and leave the roof.
Now imagine a solar mounting base or accumulated debris creates a low point where only 2% of that rainfall volume temporarily collects.
2% of 5,000 litres is:
100 litres
This doesn't mean every blocked drain will automatically hold exactly 100 litres.
It illustrates the scale of water involved.
Even a relatively small percentage of rainfall accumulating in an unintended location can mean a substantial amount of standing water.
That is why drainage planning deserves engineering attention.
Small Installation Mistakes Can Become Bigger Problems Later
Waterproofing failures aren't always visible immediately.
A solar installation can look perfect on Day 1.
The panels generate electricity.
The inverter works.
The monitoring app shows production.
Then repeated rainfall exposes a problem that was hidden during installation.
Possible warning signs include:
- Damp ceiling patches
- Bubbling paint
- Water stains
- Moisture near walls
- Musty smells
- Cracks around penetrations
- Standing water near mounting bases
- Blocked roof outlets
By this point, the homeowner may blame the solar panels.
But the actual issue could be related to drainage, existing roof defects or poor solar panel roof waterproofing around the installation.
Waterproofing Isn't Just “Put Sealant Around the Bolt”
This is one of the most important practical points for homeowners.
Applying sealant is not the same thing as having a complete waterproofing strategy.
Before installation, the site team should understand:
Existing Waterproofing
What waterproofing system is already present?
Roof Condition
Are cracks, damaged areas or previous repairs visible?
Penetrations
Will the proposed mounting method penetrate the roof?
Drainage
Where does rainwater naturally travel?
Low Points
Are there areas where water already accumulates?
Future Access
Can these areas still be inspected after solar installation?
Professional solar panel roof waterproofing should work with the existing roof system rather than relying on a generic solution for every property.
Drainage Should Influence Solar Panel Layout
Solar design shouldn't begin with:
“How many panels can we fit?”
It should begin with:
“How many panels can we fit safely without compromising drainage, structure, generation or maintenance?”
That distinction matters.
Drainage can influence:
- Mounting-base locations
- Panel row spacing
- Cable routes
- Maintenance pathways
- Distance from outlets
- Access around water tanks
- Cleaning access
An extra panel should never be added at the cost of creating a long-term roof problem.
A Practical Example: Same Solar System, Different Outcome
Consider two homes.
Both install:
Both use comparable panels.
Both use similar inverters.
Both generate similar electricity.
The difference is underneath the panels.
Home A — Drainage Planned Before Installation
Before installing the rooftop solar panels for home, the team:
- Inspects existing waterproofing
- Identifies drain outlets
- Maps water flow
- Checks existing cracks
- Plans mounting locations
- Keeps drainage paths accessible
- Maintains maintenance pathways
During heavy rain, water continues moving toward the outlets.
Home B — Panels Planned First, Drainage Later
The installation is optimized mainly around fitting panels.
A mounting location interrupts a natural water path.
Cables and debris make one area harder to clean.
An existing low point is overlooked.
The solar system continues generating electricity.
But repeated water accumulation begins affecting the roof.
Same solar capacity. Very different ownership experience.
What Should Be Checked Before Installation?
A professional assessment for a solar rooftop system for home should ideally document the following:
| Check | Why It Matters |
|---|---|
| Existing roof cracks | Can identify pre-existing leakage risks |
| Waterproofing condition | Establishes roof condition before work |
| Drain locations | Prevents accidental obstruction |
| Roof slope | Shows natural water movement |
| Existing low points | Identifies ponding risk |
| Proposed mounting locations | Helps avoid drainage conflicts |
| Cable routing | Prevents unnecessary debris traps |
| Maintenance access | Keeps drains and roof accessible |
| Water tank position | Helps plan layout and pathways |
| Existing repairs | Highlights areas needing attention |
This creates a baseline before installation starts.
Make the Site Assessment Actionable
Don't accept only:
“Roof checked. Everything is fine.”
Ask for evidence.
Before installation, homeowners can request:
1. Photographs of existing roof condition
2. Locations of drainage outlets marked on the layout
3. Identification of existing cracks or water ponding
4. Proposed mounting/anchoring method
5. Waterproofing treatment for any penetrations
6. Maintenance access around drainage points
7. Responsibility for repairing any installation-related waterproofing issue
This makes the discussion far more concrete.
How Much Water Can Standing Water Add to the Roof?
There is another useful number homeowners should understand.
Water weighs approximately 1 kg per litre.
Suppose water ponds across a 10 m² area to an average depth of 20 mm.
Volume:
10 m² × 0.02 m = 0.2 m³
That's approximately:
200 litres of water
And therefore approximately:
200 kg of additional water mass
Again, this is an illustrative example rather than a structural assessment.
But it demonstrates why drainage and structural planning are connected.
Standing water isn't simply a leakage concern.
It can also create an additional temporary load on the roof.
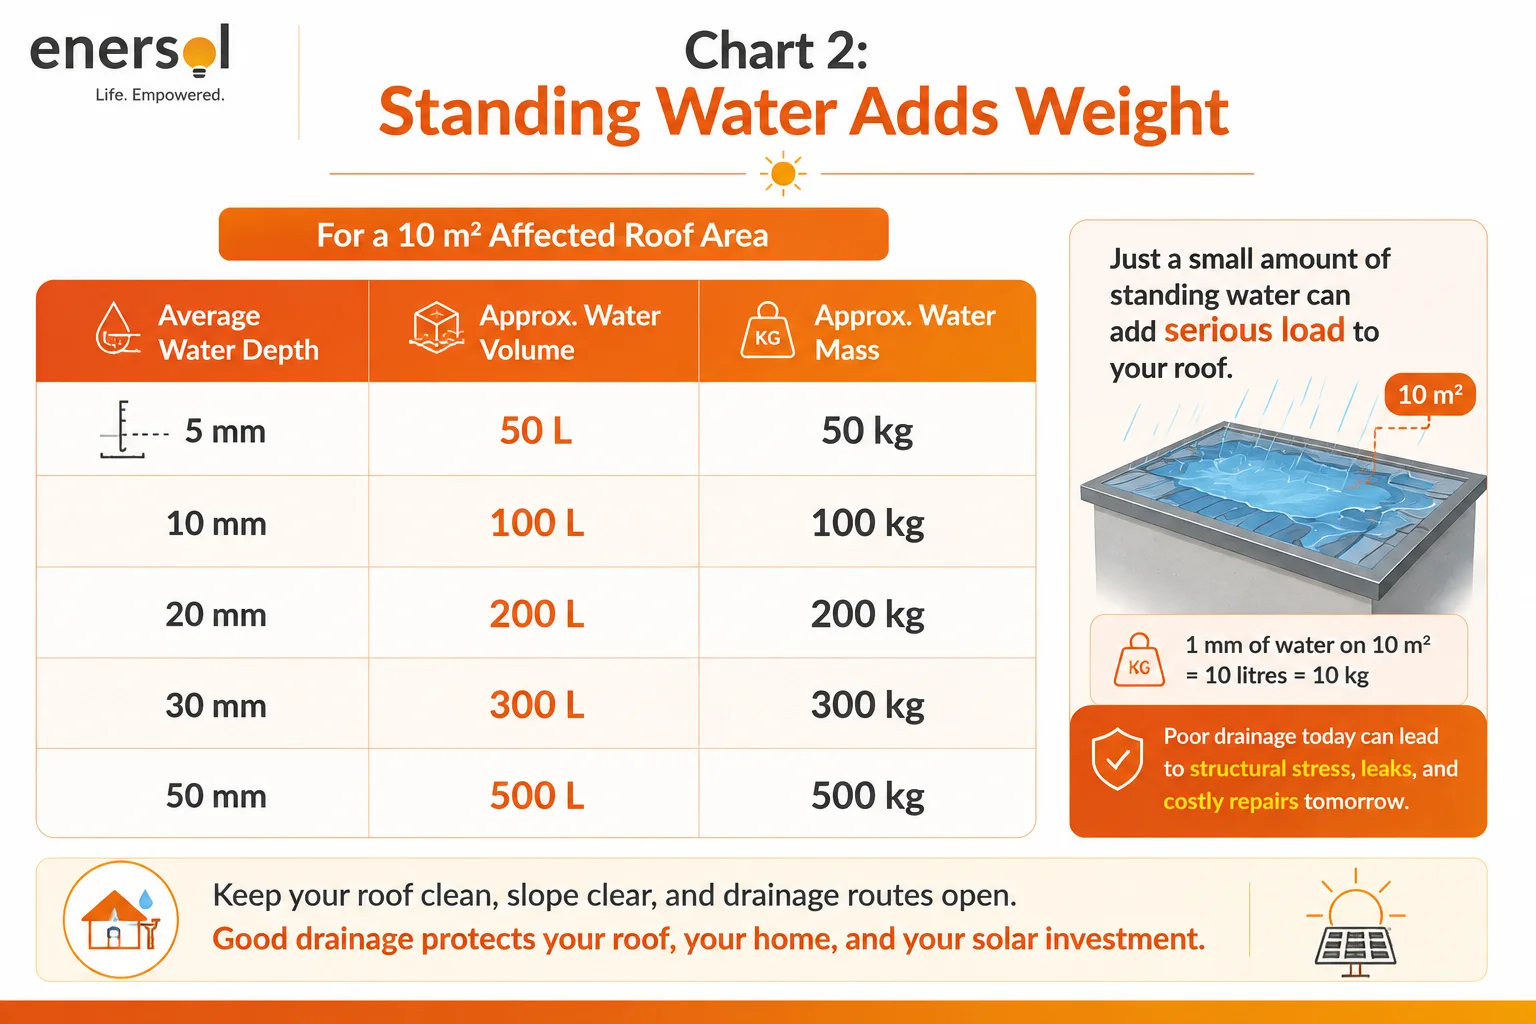
Chart 2: Standing Water Adds Weight
For a 10 m² affected roof area:
| Average Water Depth | Approx. Water Volume | Approx. Water Mass |
|---|---|---|
| 5 mm | 50 L | 50 kg |
| 10 mm | 100 L | 100 kg |
| 20 mm | 200 L | 200 kg |
| 30 mm | 300 L | 300 kg |
| 50 mm | 500 L | 500 kg |
Graphic headline:
“Water Doesn't Just Sit There. It Adds Load.”
This is a much stronger reason to keep drainage routes clear.
Waterproofing vs Drainage: They Solve Different Problems
These terms shouldn't be treated as interchangeable.
| Waterproofing | Drainage |
|---|---|
| Helps prevent water entering the building | Helps move water away from the roof |
| Protects roof/building layers | Reduces standing-water accumulation |
| Important around penetrations | Important around mounting layouts |
| Requires compatible treatment/material | Requires clear water pathways |
| Must remain effective long term | Must remain accessible for cleaning |
A strong residential solar power system should respect both.
Excellent waterproofing does not justify poor drainage.
And good drainage does not compensate for badly treated roof penetrations.
What Can Poor Planning Cost?
The source blog doesn't provide actual Enersol customer repair-cost data, so it would be misleading to invent a universal leakage-repair figure.
Instead, homeowners should evaluate the potential scope of a failure.
A waterproofing issue may involve more than applying fresh sealant.
Depending on the damage, rectification could require:
- Removing modules temporarily
- Dismantling part of the mounting structure
- Accessing the affected roof area
- Repairing waterproofing
- Allowing surfaces to cure
- Reinstalling solar components
- Repairing interior paint/plaster
- Testing the system again
So the financial comparison shouldn't simply be:
“How much does waterproofing cost?”
It should be:
“What could it take to access and repair this roof after the solar system has already been installed?”
Prevention is usually easier to engineer before installation than after the array is in place.
A Better Way to Compare Solar Quotations
Two quotations may use the same panel and inverter but provide very different installation quality.
Add these questions to your comparison:
| Parameter | Installer A | Installer B |
|---|---|---|
| Roof inspection included? | ? | ? |
| Existing cracks documented? | ? | ? |
| Drain locations mapped? | ? | ? |
| Waterproofing method specified? | ? | ? |
| Roof penetrations required? | ? | ? |
| Mounting method explained? | ? | ? |
| Maintenance pathway maintained? | ? | ? |
| Drain access after installation? | ? | ? |
| Waterproofing responsibility defined? | ? | ? |
| Post-installation roof inspection? | ? | ? |
Fill in these question marks before selecting the installer.
That's more useful than comparing only home solar installation cost.
Don't Judge a Solar Installation on Day One
This is one of the most important lessons.
On installation day:
Panels look clean.
Cables look organized.
Generation starts.
Everything feels complete.
But waterproofing and drainage quality are tested over time.
The better checkpoints are:
After Installation
Check that drains remain accessible and no visible damage has occurred.
After the First Heavy Rain
Inspect for unexpected ponding or drainage restrictions.
Before Monsoon/Rainy Season
Clear leaves and debris from drainage areas.
During Routine Solar Maintenance
Inspect accessible waterproofing areas, cable routes and mounting locations for visible changes.
This converts waterproofing from a one-time activity into long-term roof management.
Questions Worth Asking During a Site Visit
Before approving your solar rooftop system for home, ask:
- Where are all my roof drains?
- Will any mounting structure affect the natural water path?
- Does the roof currently have ponding areas?
- What waterproofing system already exists?
- Will you penetrate the roof?
- If yes, how will those penetrations be treated?
- Will drains remain accessible after installation?
- How will cables be routed?
- Can technicians access the roof for future waterproofing work?
- Who is responsible if installation-related seepage appears?
A professional installer should be able to answer these questions before work begins.
Solar Should Reduce Bills, Not Create Another Maintenance Problem
The purpose of a solar rooftop system for home is to create long-term financial value.
That value shouldn't come at the expense of the building underneath it.
The complete system therefore includes more than:
Panels + inverter + cables
It also depends on:
Roof + mounting + waterproofing + drainage + maintenance access
If any one of these is ignored, the installation may create avoidable problems later.
What Should Homeowners Remember?
If you remember only five points, make them these:
1. Calculate rainfall as volume, not just millimetres.
50 mm of rain on 100 m² is approximately 5,000 litres of water.
2. Keep drainage routes clear.
Solar structures should not obstruct the roof's natural water flow.
3. Waterproofing is more than sealant.
The existing roof system and any penetrations need to be understood.
4. Standing water adds load.
200 litres of accumulated water represents approximately 200 kg of water mass.
5. Document the roof before installation.
Photos, drain locations and existing defects create a useful baseline.
Final Thoughts
A successful solar rooftop system for home shouldn't be judged only by how many units it generates.
It should also leave the roof underneath it functioning properly.
The numbers show why.
On a 100 m² rooftop:
25 mm rain ≈ 2,500 litres
50 mm rain ≈ 5,000 litres
100 mm rain ≈ 10,000 litres
That water needs somewhere to go.
Proper solar panel roof waterproofing, drainage planning and mounting design help ensure it follows the intended path rather than collecting around solar structures or vulnerable roof areas.
Before installing rooftop solar panels for home, ask your installer to show you:
Where the water flows.
Where the drains are.
Where the mounting points will go.
How penetrations will be protected.
How the roof can be maintained later.
At Enersol Solar, the goal of solar engineering should extend beyond electricity generation. A system expected to operate for decades should be planned with equal attention to the building supporting it.
Because the best residential solar power systems don't just generate power for 25 years.
They are designed so the roof underneath can keep doing its job too.